







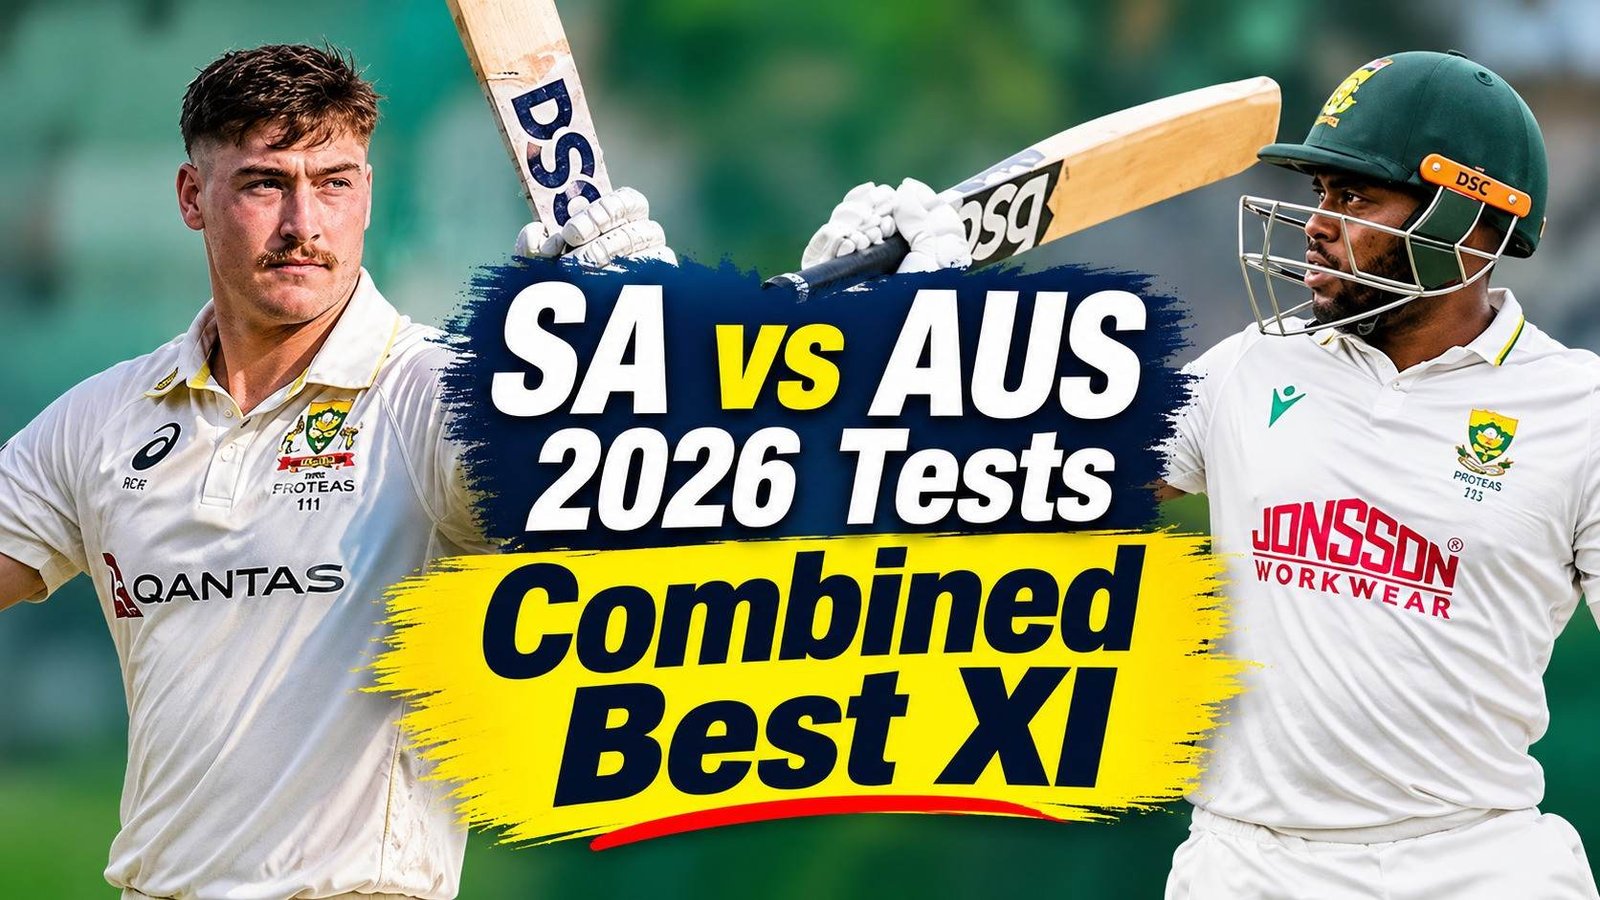
The SA vs AUS Test series had everything that makes Test cricket exciting. We saw big scores, important partnerships, match-winning spells, and players fighting back under pressure. Australia won the first Test, but South Africa bounced back to win the next two and take the series 2-1. The series also showed the gap between the two teams.
While a few Australians delivered, South Africa got match-winning contributions from several players. This is reflected in our Best XI, with nine South Africans and just two Australians.
SA vs AUS 2026 Test Series Combined Best XI
Here is the combined best XI of the SA vs AUS 2026 Test series.
Aiden Markram
Markram earns his place at the top after showing great patience and determination throughout the series. He scored two half-centuries, with his effort in the second innings of the first Test standing out.
He could not save the match, but his effort showed how much he wanted to fight.
Then, he followed that performance with a quick 78 in the first innings of the third Test. His partnership with Marcus Ackerman also gave South Africa a strong start.
Marcus Ackerman
Ackermann makes the XI after delivering important performances in two of his three innings. The newcomer brought an attacking approach to the South African batting line-up. He scored quickly and did not allow Australia’s bowlers to settle.
His 95 in the first innings of the third Test was particularly impressive. He also scored a half-century in the second innings. These two performances showed that he could deliver more than just one good knock.
Opening was not an easy job in this series. Both teams struggled to find the right combination at the top. Australia tried different options. Travis Head scored a century, but Matt Renshaw and the earlier experiment with Maddinson showed that Australia were still searching for a reliable opening pair.
South Africa also changed their batting order. They moved Ryan Rickelton down the order, and that decision worked well for them.
David Bedingham
Bedingham did not have a very successful series, but he still gets the No. 3 spot in our XI. He played a few useful innings but failed to turn his starts into big scores.
However, Marnus Labuschagne also struggled throughout the series. Bedingham gets the preference for this position, while Labuschagne’s place in Australia’s Test team has now become a major talking point after another disappointing series.
Temba Bavuma (C)
There is hardly any doubt about Bavuma’s place in this XI. He was one of South Africa’s most important players, especially when the series was at a crucial stage.
His unbeaten 179 in the second Test was a game-changing effort. South Africa had lost six wickets for just 110 runs and were in danger of falling further behind in the series.
However, Bavuma refused to give up. He first built an important partnership with Marco Jansen and then continued the fight with Keshav Maharaj. Their efforts helped South Africa reach 425/9. You can check the full scoreboard of all the matches of this series HERE.
It was Bavuma’s highest Test score, and he produced it when his team needed him the most. South Africa then turned that strong batting performance into a match-winning result.
He also deserves to captain this XI. Bavuma guided South Africa from a 0-1 deficit to a 2-1 series win. Almost two days of the second Test were lost to rain, but his team still found a way to get a result. They also came back from a 100-run first-innings deficit in the third Test to win the match.
ALSO READ: Who is the Best Cricketer in the World Currently, as per Former South African Legend
Matt Renshaw
Renshaw becomes the first Australian in our XI, and his place is well deserved. He played a major role in Australia’s first Test victory with an excellent 190.
Australia were in trouble at 124/6 when Renshaw took charge of the innings. He helped his team reach 390 and built a historic partnership with Nathan Lyon. That stand completely changed the direction of the match.
Renshaw also made a useful contribution in the second innings and picked up important wickets with the ball.
His selection becomes even more interesting because he also agreed to open in the third Test when Australia needed a change at the top. He could not score another big knock, but he showed the patience and discipline that the role demanded.
Ryan Rickelton (WK)
Rickelton takes the wicketkeeper’s spot after making a big impact in the middle order. His century in the third Test came at an important time for South Africa. He also built a crucial partnership with Wiaan Mulder to help his team recover.
He made a useful contribution in the second Test as well. His opening experiment did not work in the first Test, but South Africa made a smart move by sending him down the order.
That change allowed Rickelton to play a more important role in the middle order.
Wiaan Mulder
Mulder earns his place because of his contributions with both bat and ball. His bowling was particularly important in the second Test when the pitch became better for batting.
He kept bowling in the right areas, stayed close to the stumps, and troubled the Australian batters with movement in both directions. His consistent line and length made it difficult for them to score freely.
Mulder then produced an important century in the third Test. His partnership with Rickelton helped South Africa recover from a difficult position and gave them a strong platform.
Marco Jansen
There was never much doubt about Jansen’s place in this XI. The Player of the Series made important contributions throughout the contest.
He picked up crucial wickets, scored valuable runs, and also made a difference in the field. His ability to deliver in all three departments made him one of South Africa’s biggest strengths in the SA vs AUS series.
Mitchell Starc
Starc is the second and final Australian in this XI. His performances deserve recognition, especially considering the consistency he has shown at this stage of his career.
He continued to bowl at around 140-145 kmph and regularly touched 150 kmph. His new-ball spell on the first day of the third Test was particularly important, as it helped Australia fight their way back into the match.
He also played a big role in Australia’s opening Test victory. In the SA vs AUS 2026 Test series, Starc picked up 15 wickets and ended up as No. 1 in the list of most wickets in the series.
Simon Harmer
Harmer was outstanding throughout the series. He finished with 14 wickets, making him the second-highest wicket-taker behind Starc.
His performance in the third Test was especially impressive. He picked up 10 wickets in the match, including a brilliant six-wicket haul for just 16 runs in the second innings.
Harmer also troubled Australia in the second Test. He set up Labuschagne before dismissing him and kept putting pressure on the Australian batting line-up.
His contribution with the bat was equally important. He scored 84 in the second Test and built a valuable partnership with Bavuma.
South Africa chose him over the experienced Keshav Maharaj, and Harmer proved that the decision was right with his performances.
Kagiso Rabada
The Rolls-Royce of South African bowling completes our XI. Rabada missed the first Test but made a strong comeback in the next two matches. He picked up 10 wickets in those games.
He did not have his best outing in the first innings of the third Test, but he completely changed things in the second innings.
Rabada picked up three early wickets, including the important wicket of Travis Head. That burst put Australia under immediate pressure and gave South Africa control of the match.
He stepped up when his team needed him and played a major role in the series victory.
SA vs AUS 2026 Tests: South Africa’s Dominance Reflects Australia’s Problems
Having nine South Africans in this XI might seem one-sided, but their performances throughout the series support these selections.
Australia had Renshaw and Starc delivering consistently, but several of their experienced players failed to make the same impact.
Pat Cummins could not influence the series as expected. Josh Hazlewood also struggled for consistency, while Nathan Lyon could not match Harmer’s impact. Australia’s batting department faced similar problems, with Labuschagne and Steve Smith failing to produce the big performances their team needed.
South Africa were not perfect either. Some of their batters played poor shots and missed chances to score big runs. However, they found ways to fight back whenever they faced difficult situations. More importantly, different players stepped up when the team needed them.
That was the biggest difference between the two sides in the SA vs AUS series. Australia won the opening Test, but South Africa responded with two strong performances to turn the series around.
Their 2-1 victory also showed why they are the reigning World Test Champions. They did not depend on just one or two players. Instead, different members of the team made important contributions at different stages.
And that is exactly why nine South Africans feature in our SA vs AUS Best XI.
What do you think? Will you also go with the same XI, or make changes? Let us know your thoughts in the comments.
Keep following Sportschilly for the latest updates.